
Your hand-printed wallpaper will be made in a unique batch, using a process I have developed over time which produces the soft surface characteristics of historic paper combined with the durability expected of modern wallpapers.


It takes several days to complete even a small order of wallpaper. I work alone and make wallpaper for half of each day (the rest of my working time is taken up with administrative chores or with site visits). This is why you will have to wait a bit longer for your hand-printed wallpaper.
But after all, these historic Irish patterns have waited up to two and a half centuries to arrive on your wall, and with the right care will continue to look good for decades – so perhaps they are worth the extra wait.

Step 1
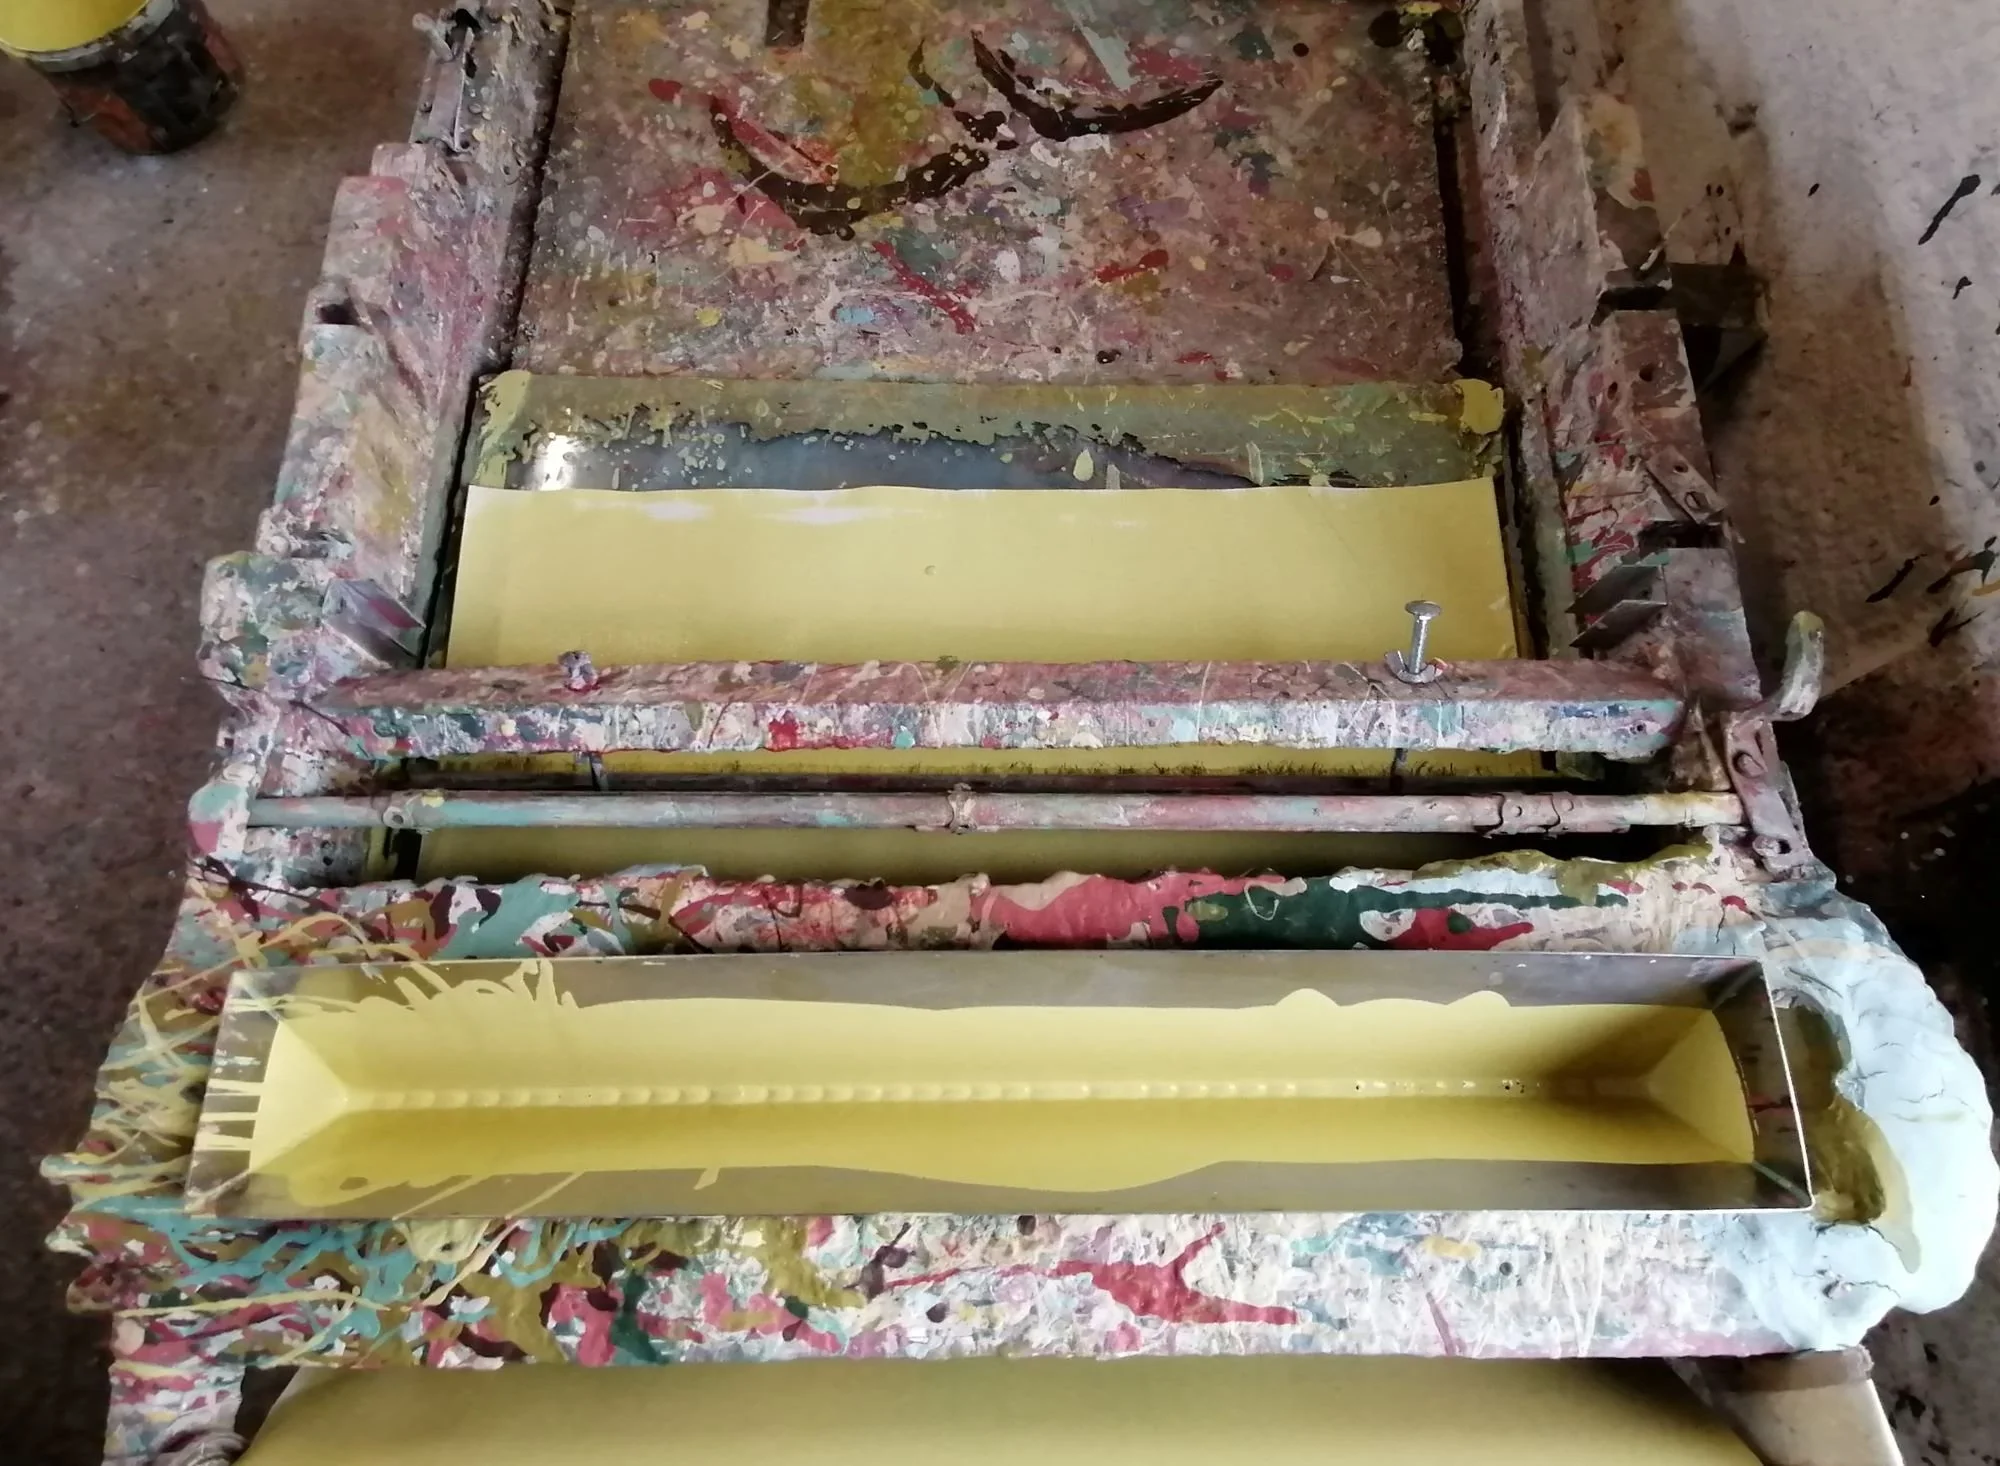
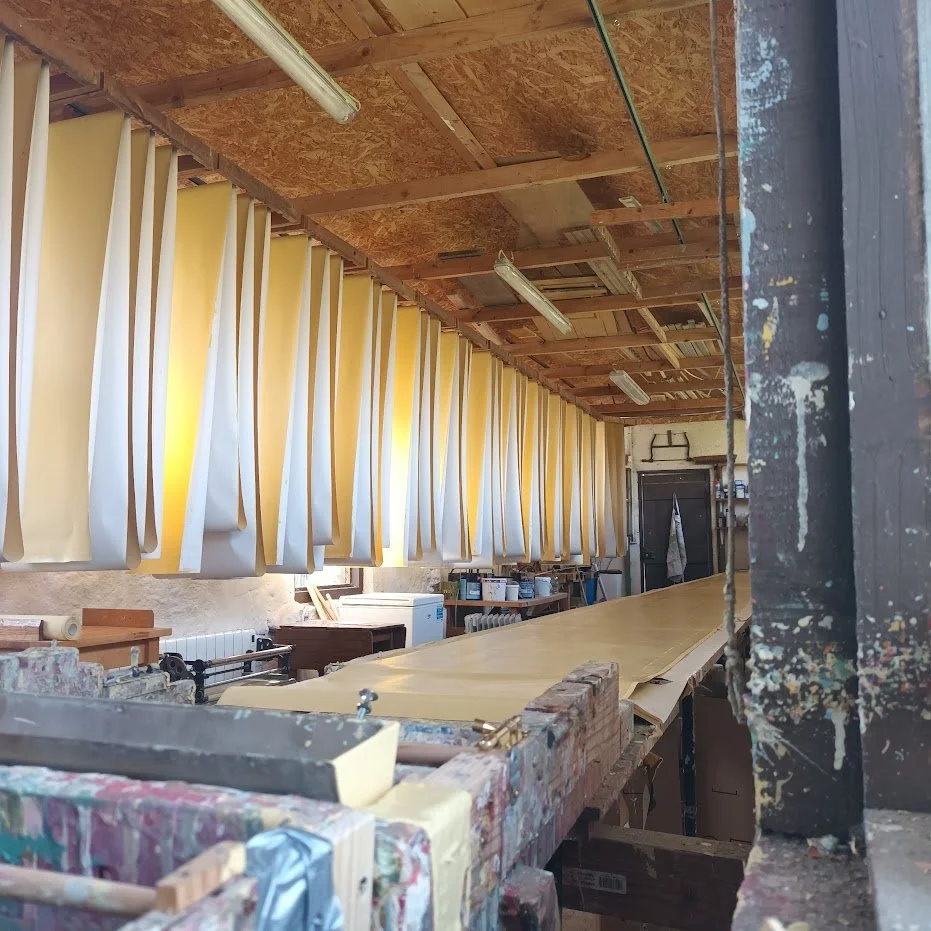
The first step is grounding the paper. Each roll is pulled out onto a ten-metre long table under a brush fed by a paint trough, giving the pattern its background colour. The paint used for grounding and for printing is made using a blend of acrylic and plant-based binders and has a soft, matte finish which is wipeable, durable and resistant to fading. Colours are mixed and matched by eye, and the paper receives three thin coats to build up a good depth. After each roll has been grounded it is hung in festoons to dry overnight. The next morning, it is rolled up and brought from the grounding room into the printing room.

Step 2.
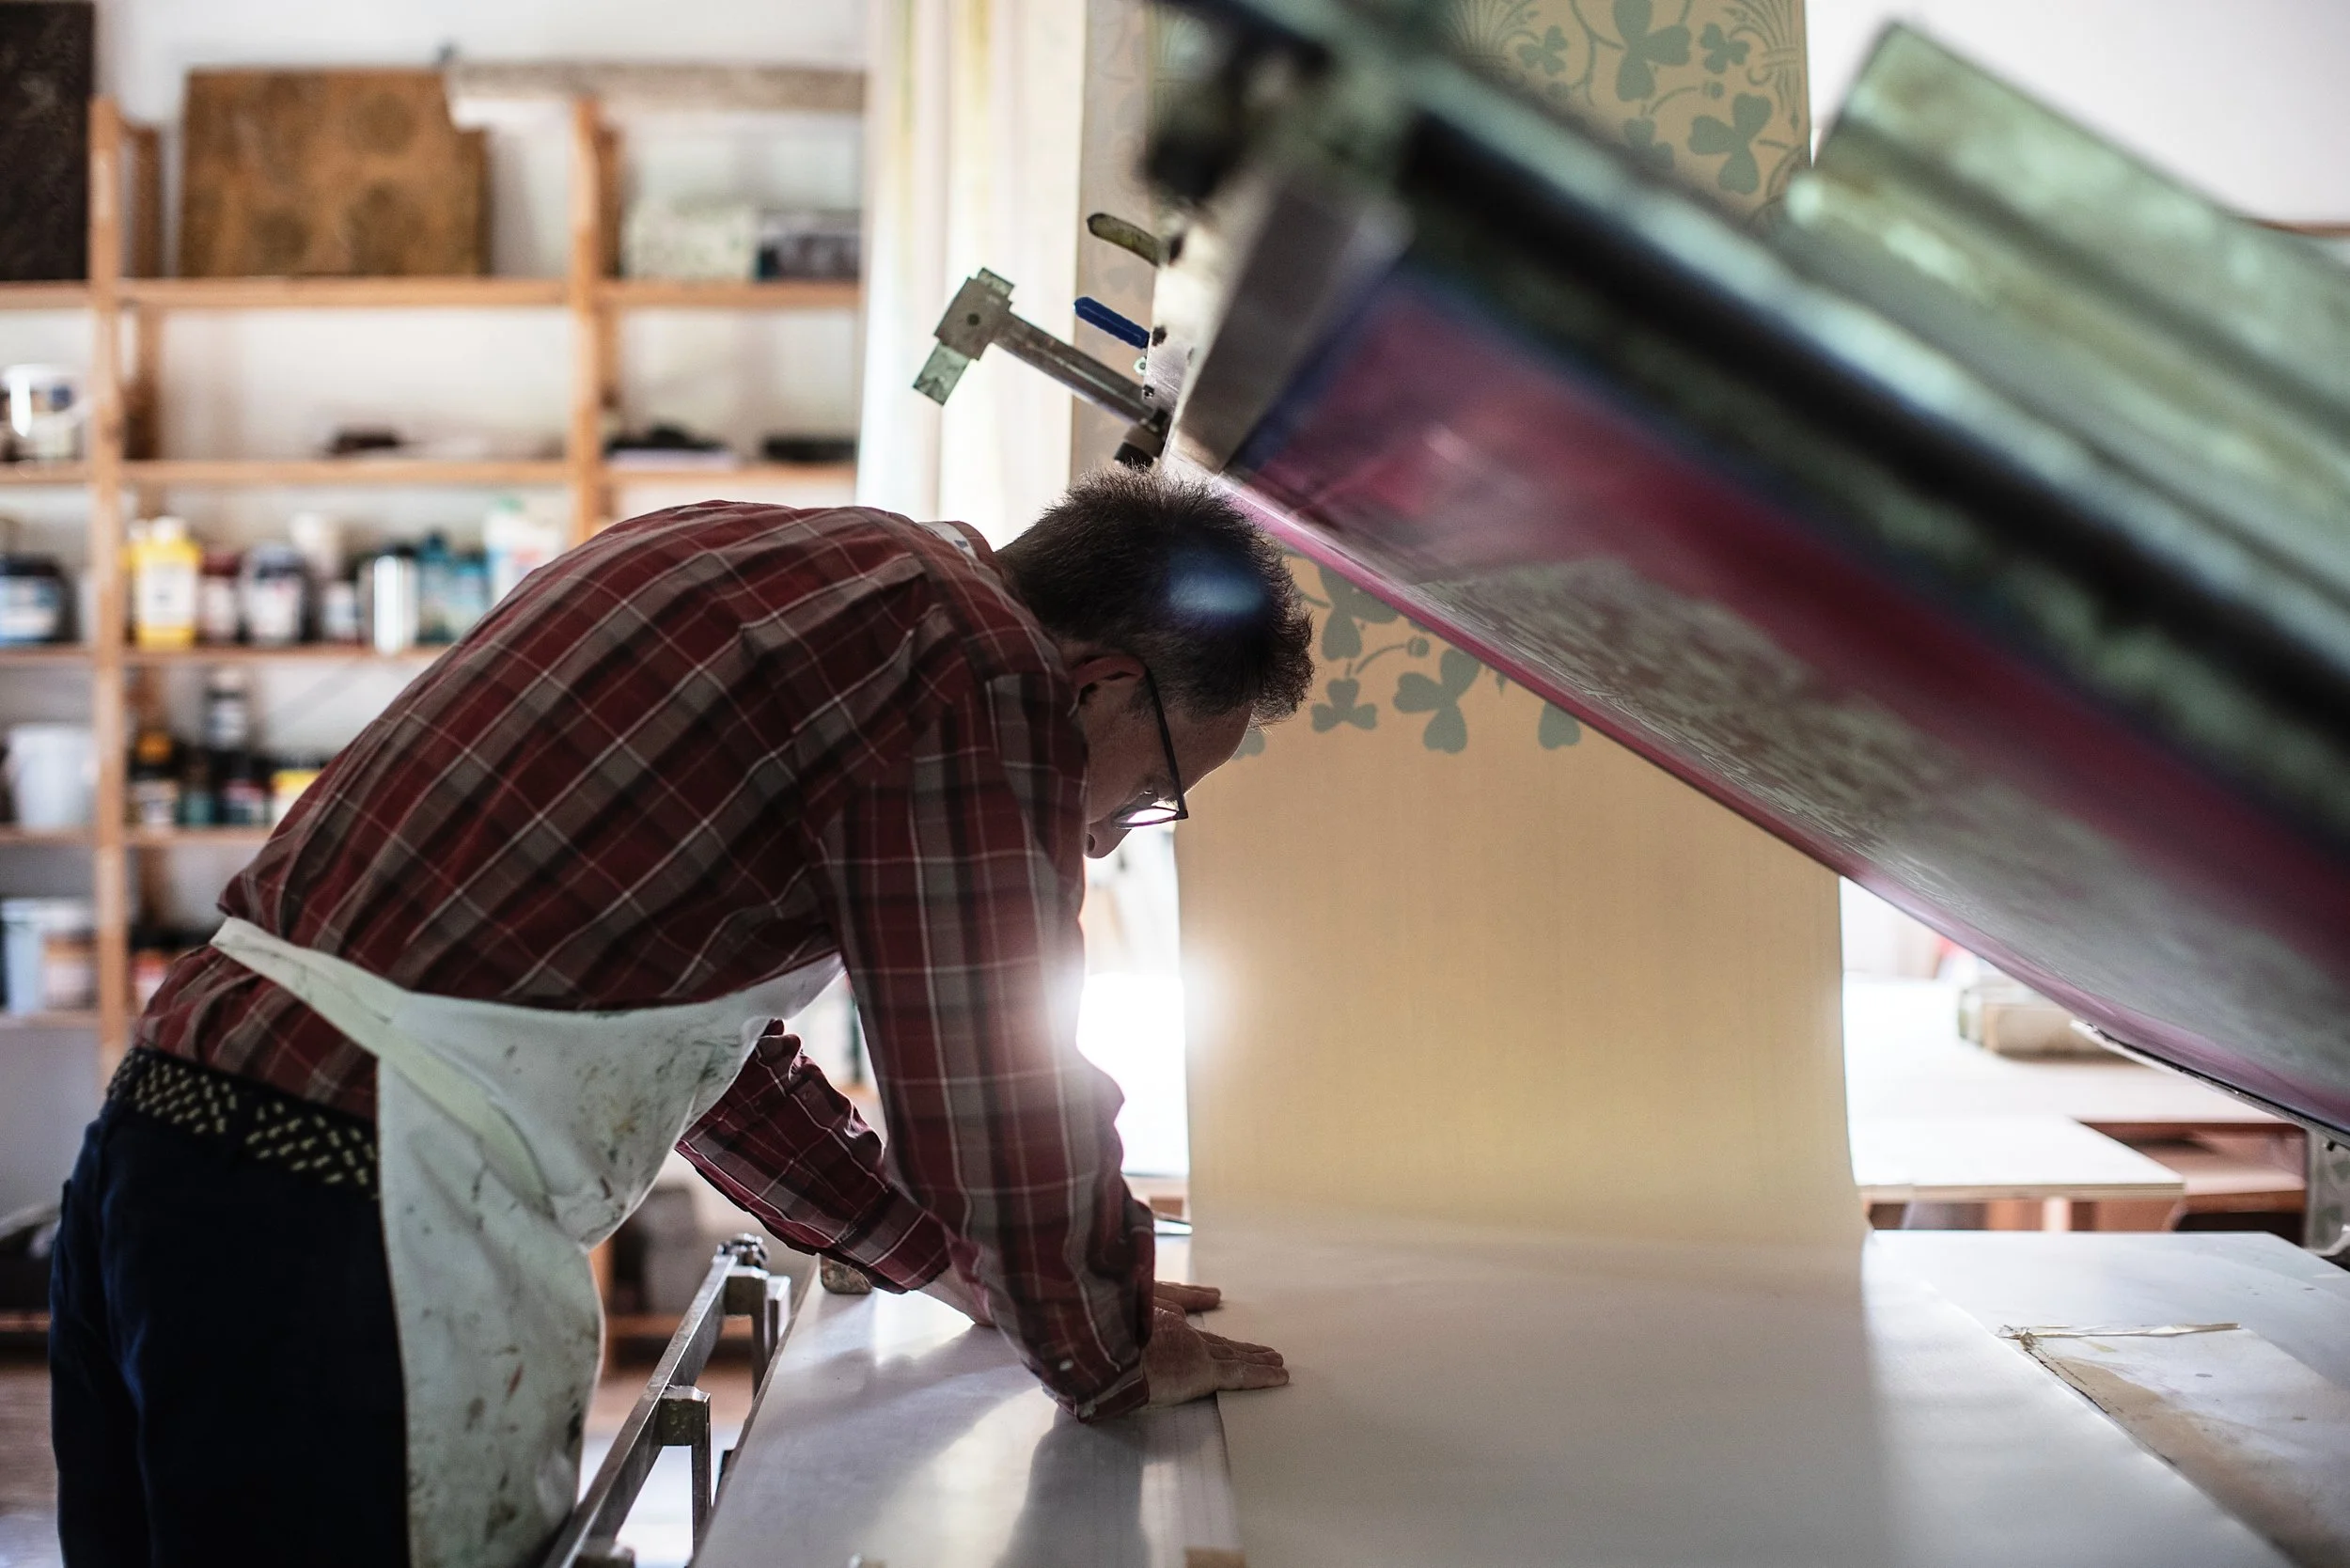
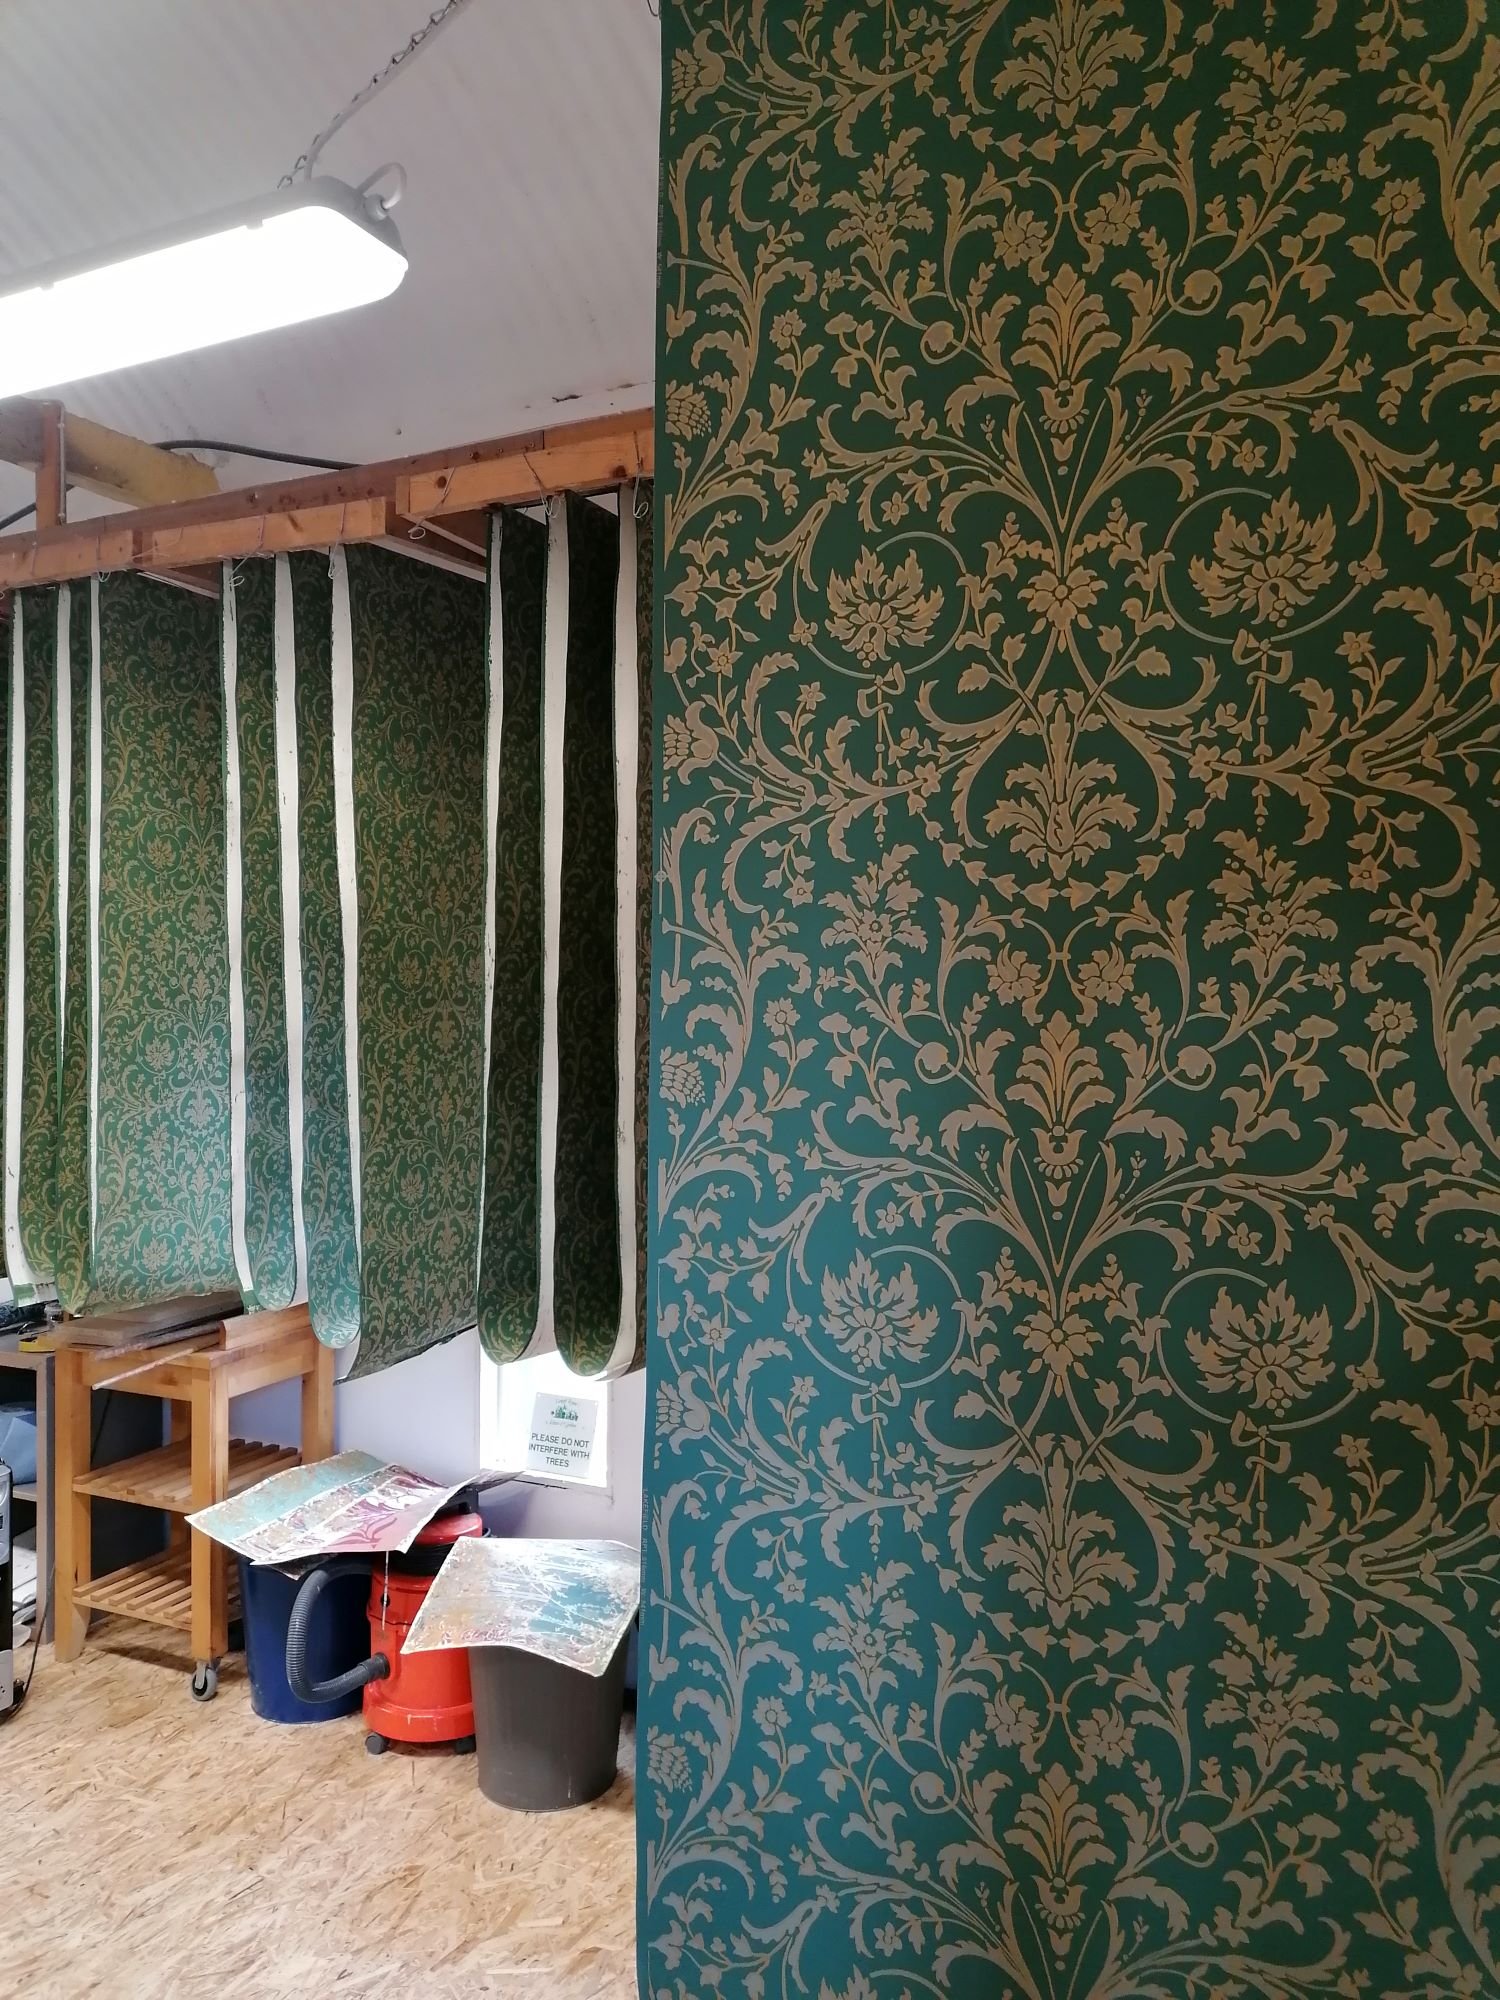
The pattern is then hand screen-printed onto the grounded paper. If there is more than one printed colour in the pattern, a separate screen and another round of printing is needed for each additional stage. The paper is moved along and positioned by hand and eye for each repeat of the pattern. In contrast to machine or digitally-printed papers, a very slight variation in the accuracy of the repeats may result – this is typical of hand-printed papers everywhere. The rolls are hung to dry again after each colour has been printed. Have a look at my Instagram page, where I regularly post videos of the grounding and printing processes.

Step 3.
Finally, each roll is trimmed ready for installation, using a hand-operated trimming machine built in England in the 1950’s. For papers with dark background colours, the edges of the paper are toned in the studio after trimming, to minimise the risk of white showing at the seams. After a final inspection the rolls are wrapped and securely packed ready to be delivered. I usually include small jars of retouching colour, which can be helpful in any number of ways during installation, or can be kept to touch up any of those minor accidents which happen to wallpaper over time.

Notes:
My hand-printed wallpapers are the traditional Paste-the-Paper type, unlike the Paste-the-Wall type which are increasingly being used. More information on installing my hand-printed papers can be found here.
For those who prefer the ease and simplicity of the Paste-the Wall method, I can offer most of my patterns as digitally-printed papers, made to order by a specialist manufacturer in England. Aside from being easier to install, these digitally-printed versions offer a more affordable alternative to hand printing, particularly for multi-colour patterns. Unfortunately, metallic golds and silvers cannot as yet be printed digitally.